

For a maker, a thoughtful Christmas gift can start with one simple idea: help them make something they already want to make. Choose the project first, identify what is missing, and add a clear starting point. The result might be a new tool, a carefully chosen refill, or a small set of project supplies.
The suggestions below are for adult hobbyists. They are gift combinations to assemble yourself, not descriptions of ready-made Hanboost bundles. Check each product’s selected package to see what is included and what you would need to buy separately.
Choose a project they would enjoy
Start with something they have mentioned or made recently. A person who likes personalized stationery may enjoy creating small name tags. A model builder may prefer help finishing an existing print. An experienced maker may already have every machine they want but need supplies for the next build.
Choose the route that sounds most like your recipient:
- “I want to put my own designs on things.” Explore a small engraving project.
- “This model still needs finishing.” Look at cutting, trimming, and hand-finishing needs.
- “I have the tools; I need to get back to the project.” Find the missing consumable or organizational item.
Avoid turning the gift into an assignment. Offer a project idea they can change, with room for their own design and pace.
For the maker who wants to personalize wooden tags
A small name tag is a manageable design concept: a short name, a simple layout, and a known blank. The gift can support the whole planning process without assuming the recipient will produce finished pieces as soon as the box opens.
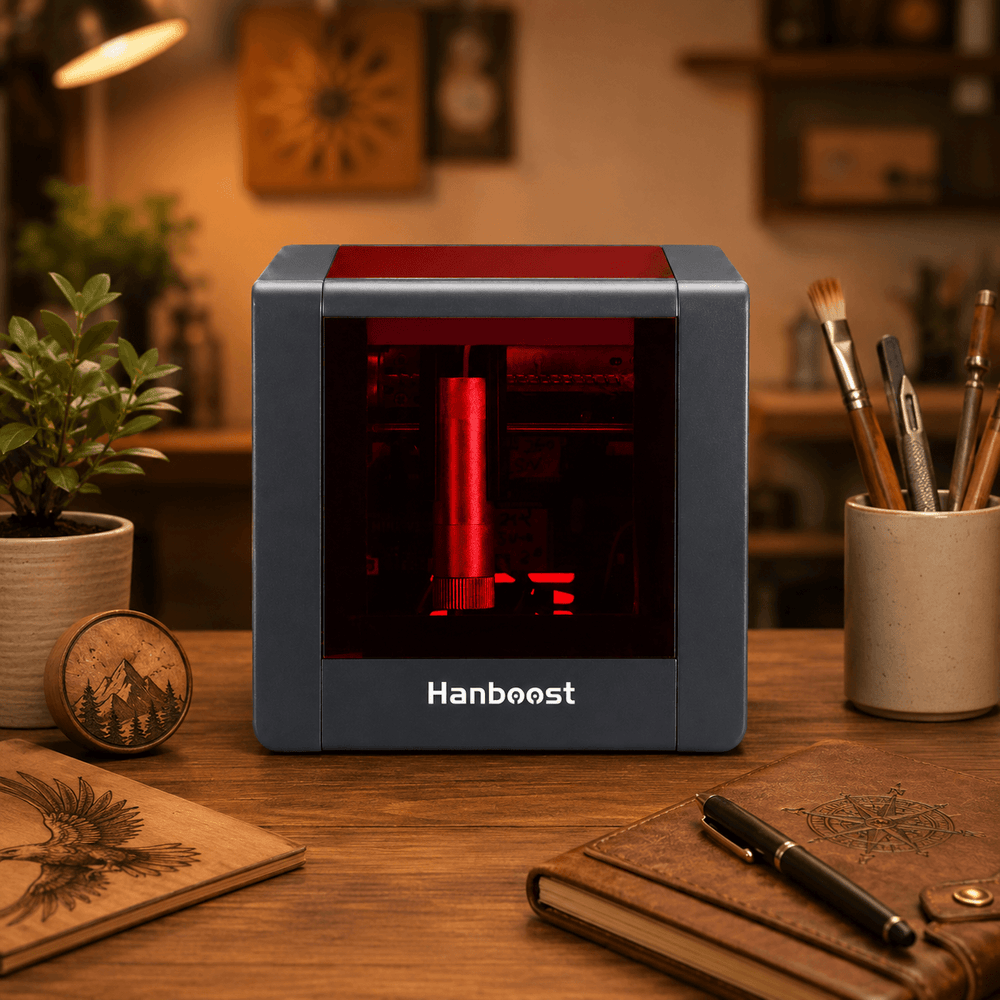
Tool to consider: the Hanboost T1 Pro mini laser engraver, if its capabilities and operating requirements fit the recipient. The current product page lists a 55 × 55 mm engraving area. Check both the artwork’s dimensions and the blank’s fit in the physical setup before buying materials.
Possible additions, purchased separately if needed: suitable pre-cut wooden blanks with known material and finish information, spare material for trials, and a small notebook for design and setup notes. Confirm that the material is permitted for the specific machine. A “craft wood” label alone does not establish its composition or suitability.
First step to include with the gift: read the model’s official instructions, prepare the required working environment, and plan one simple design. Our first laser engraving guide provides a broader introduction to the sequence.
Choose this route only when the recipient can provide the required safeguards and ventilation and stay with the equipment during operation. Laser equipment requires care even for a small project; MIT’s safety guidance explains why supervision and functioning interlocks matter.
For someone who already engraves, the useful present may simply be confirmed-compatible blanks and a project idea. If they decide to make several names, the small-batch wooden tag guide helps them keep files, names, and pieces organized.
For the model builder refining a printed model
Look at the stage of the project. Do they need to separate accessible supports, trim an edge, or smooth an already trimmed surface? Those are different jobs, and one tool does not replace every finishing step.
Tool to consider: the Hanboost C1 ultrasonic cutter, when detailed cutting is a task the recipient wants help with and the material is appropriate. Hanboost’s C1 FAQ includes PLA in its material guidance. Confirm the exact material rather than treating all 3D prints as interchangeable.
Possible additions: the correct replacement blades for their model, or hand-finishing supplies chosen for their usual materials and finish. Check what the selected package already contains. If you are unsure which blade or abrasive they prefer, ask for an exact example instead of buying a large mixed assortment.
A useful first step: inspect the next model and decide which areas need cutting and which need another method. The guide to removing supports from delicate PLA prints helps explain why a thin feature needs support and why an inaccessible contact should not be forced.
This is a gift for someone willing to learn careful tool handling. It does not promise that a delicate model will survive every cut. Keep the manufacturer's instructions with the tool and leave blades in their protective packaging when wrapping it.
For the maker whose tools are already covered
An experienced maker may appreciate a small, exact purchase more than another device. Work from the next project backwards: what will they use up, what is missing, and what wastes time on their bench?
Use three lines to make the decision:
- They already own: the exact tool or accessory system.
- The next project needs: a named refill, material, or storage improvement.
- Before buying, confirm: model compatibility, size, quantity, and their preferred specification.
For example, imagine a model builder who has a cutting tool and wants a better place to keep replacement blades. Check the dimensions of the protected blade containers and the available drawer space before choosing an organizer. This is a planning example, not a tested product combination.
Keep refills in labeled original packaging so their identity and handling instructions stay available. For organizers, measure the items they need to hold. For materials, keep the product description or specification with the gift. These small details make future replacements easier to identify.
If the missing specification is essential, ask. A gift can still feel personal when it is the exact item the recipient chose.
Add a project card they can actually use
A short card connects the gift to an idea without prescribing every step. Include the following fields in a note or print them on a separate card:
A project you might enjoy:
What I have included:
What you already have or still need to check:
Start here — manual or beginner guide:
One first step:
Space for your own idea:
For a tag project, the first step could be “Sketch one short name at its intended size after reviewing the setup instructions.” For a model project, it could be “Choose one area to inspect and plan how to support it before working.” Neither requires committing to a finished result on Christmas Day.
Keep the card and wrapping outside any operating area. A decorative gift arrangement is not a demonstration of a safe machine setup.

Before wrapping it
Compare what arrived with the selected package and your list. Keep manuals, labels, protective covers, and necessary small parts together. Identify any separately purchased additions so the recipient does not mistake them for manufacturer-supplied accessories.
Retain the order details and check the current return conditions before discarding packaging. If you are ordering close to the gift date, confirm stock and delivery information for the actual destination; this guide does not promise Christmas arrival.
You can explore Hanboost’s gifts for makers once you know the project and the missing piece. Include that purpose in your note: “I thought this might help with the model you showed me.” It gives the gift context while leaving the making to them.