

A thin antenna, a miniature's wrist, or a narrow bracket can survive printing and still break during cleanup. The difficult part is often deciding where to apply force when a support is attached to something you cannot afford to bend.
Start by identifying the contact points, stabilize a sturdy part of the model, and remove accessible support in small sections. If the printed feature moves with the support, stop and reassess. The goal is to keep removal forces away from delicate geometry. No method can guarantee an undamaged result when supports are fused to a fragile feature.
This guide covers FDM prints with both the model and its non-soluble supports printed in PLA. Resin prints, water-soluble PVA, and dedicated Breakaway materials need different workflows.
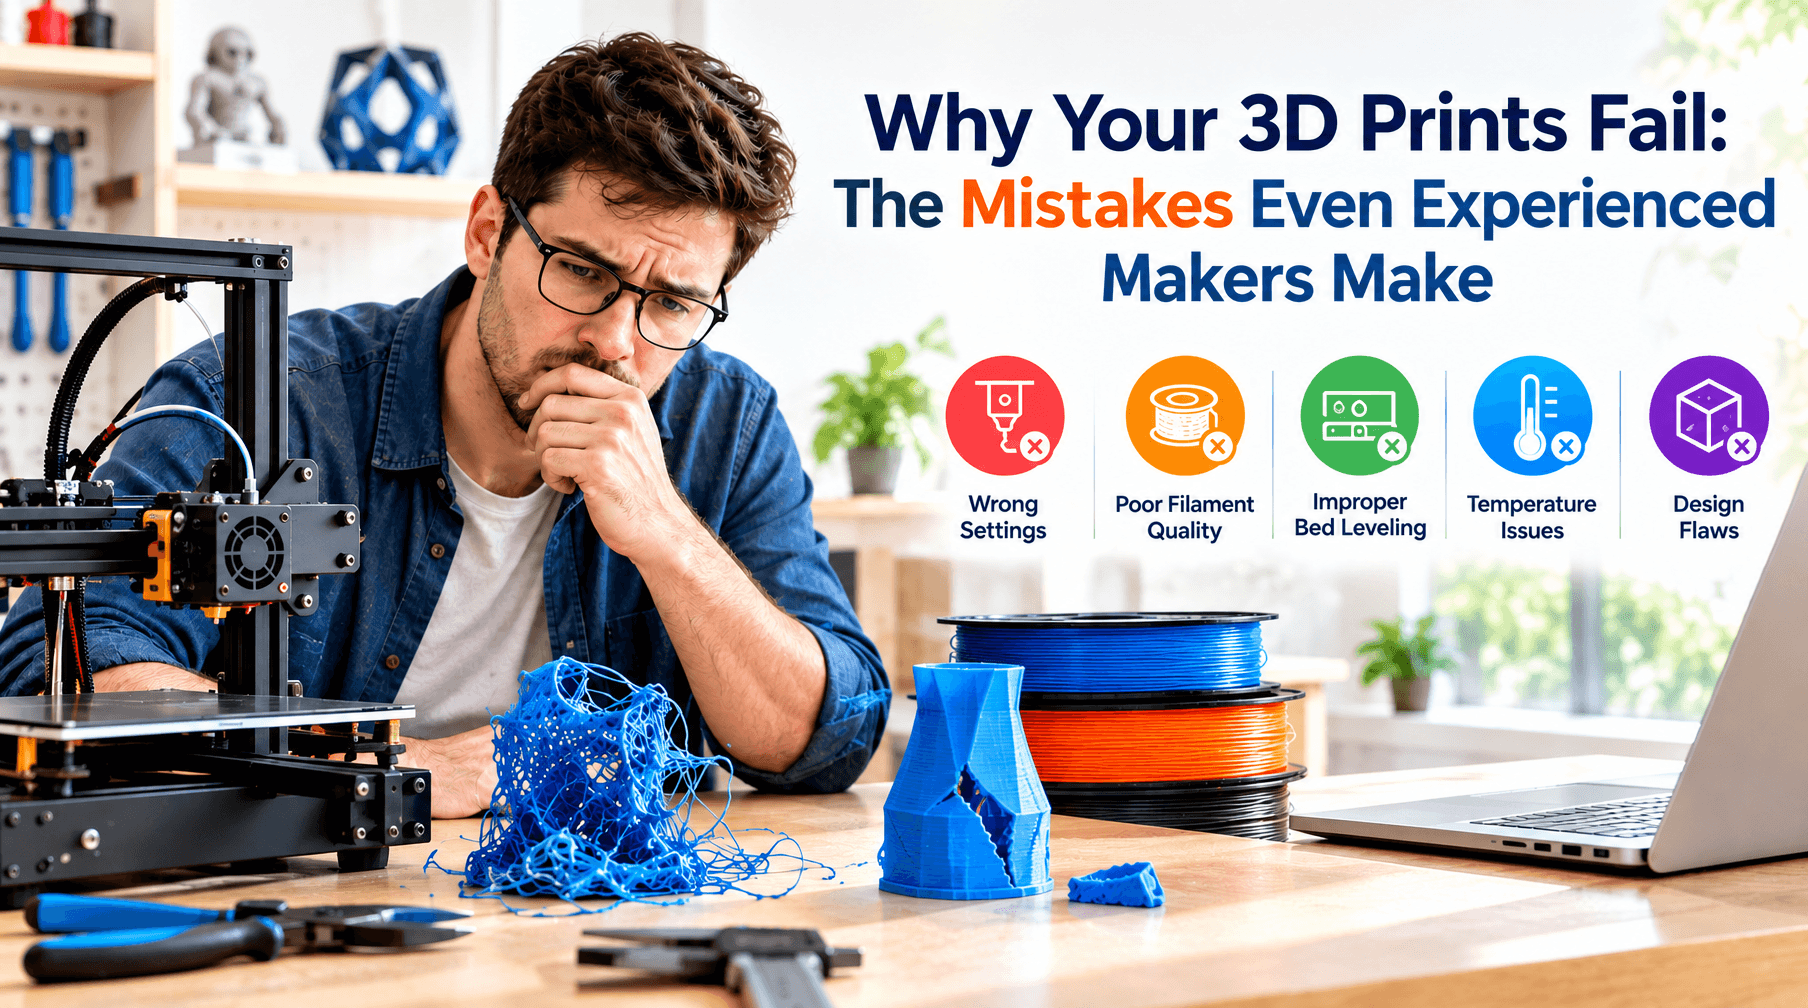
The featured image is an AI-generated conceptual illustration, not a product photograph or a documented test. Teal and orange distinguish the model and supports; they do not indicate a tested two-material print.
Before you cut: find the fragile features and contact points
Let the print cool and move it to a well-lit, stable work surface. Rotate it slowly before picking up a tool. Identify the model's outline, the support structure, and the small places where they meet. Use your slicer's preview or the original model if a tiny strut could be either a support or a designed feature.
Pay particular attention to thin walls, fingers, antennae, and narrow connections. Ask what would move if you pulled the support in front of you. A large support tree may still connect to several fragile details behind it.
Wear safety glasses: clipped support can eject sharp fragments. Keep fingers outside the cutting path and leave room for the tool after a cut releases. Prusa's support-removal guidance also calls out eye protection and the sharp edges of removed material.

Match the tool to the space you can actually reach
Choose a tool only after you can see where it will go and what it will touch.
- Plastic-rated flush cutters: useful for accessible support branches that fit within the tool's rated capacity. Both jaws need clearance. If closing them would squeeze the model or require levering the jaws into a gap, change the approach.
- Tweezers or small pliers: useful for retrieving already loosened fragments. Avoid turning a long attached branch into a handle for twisting a thin printed feature.
- A sharp hobby knife: an option for a small, visible contact when the model is stable and the blade has a clear path away from your body. Do not make blind cuts inside a cavity or pry with the blade.
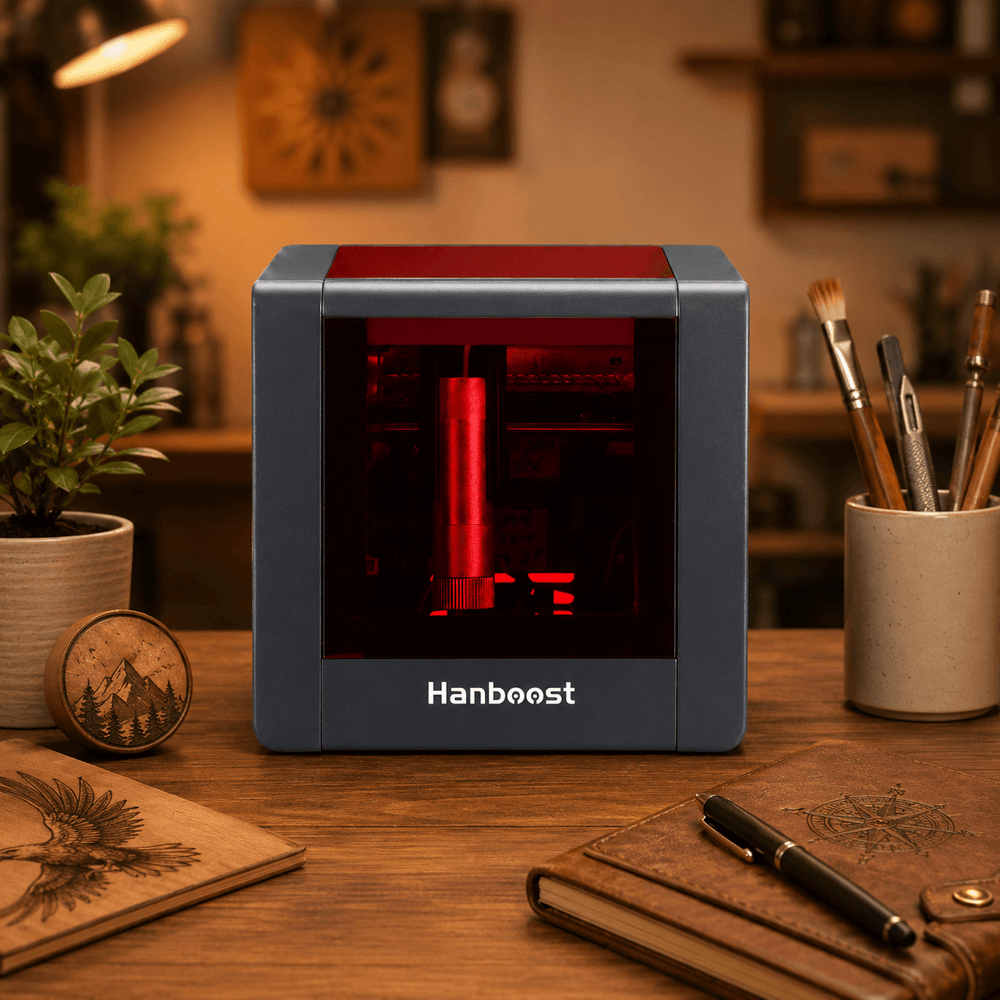
- An ultrasonic cutter: worth considering only when the material, blade access, and workholding suit the tool. Hanboost lists PLA in its material guidance for the Hanboost C1. That does not mean every thin feature or enclosed contact is suitable. Follow the current operating instructions and trial the approach on scrap before touching a valuable print.
A powered cutter is optional. It does not solve poor visibility or prevent damage if the part is unsupported. This guide does not prescribe power settings, blade choices, or cutting speeds for the C1.
Remove supports in small, controlled sections
Treat the following sequence as a decision process. There is no universal rule to start at the top or bottom: some supports also help brace a thin feature while you work nearby.
1. Stabilize the model without squeezing its details
Rest the model on a sturdy area, with gentle cushioning if needed to avoid marking the surface. Keep its fragile projections clear of the bench. Avoid holding it by the very feature you are trying to protect. If you cannot keep the model stable and maintain a safe cutting path, reposition it before continuing.
2. Open an accessible working area
Find an outer support section that can be separated without pulling on a delicate feature. Look behind it for hidden connections. Remove only what you can identify and control; do not pull an entire tree away simply because its trunk is easy to grip.
3. Divide bulky support before tackling the contacts
Where access permits, clip the support into smaller sections within the cutter's capacity. Keep the jaws on the support, with clearance from the model. Pause after each cut to see which connections remain. A branch that looks free from one side may still be attached on the other.
4. Work on visible contacts individually
Once the bulk is out of the way, inspect each remaining attachment. Approach only if the tool can reach it without pushing the printed feature aside. If a flush cut would risk cutting the model, leave a small nub for controlled finishing later. Do not use the model as a fulcrum for prying.
5. Rotate, inspect, and clear loose fragments
Retrieve separated pieces, then turn the model to check the newly exposed area. Confirm that a fragment is loose before pulling it out. Revisit your workholding as the support structure disappears: a position that was stable earlier may now leave a delicate part exposed.

When to stop and reassess
If the feature moves with the support, stop applying force. Put the tool down and look for another connection or a better angle. New whitening, a visible crack, or deformation is also a reason to stop; increasing force will not make the remaining geometry easier to protect.
If a contact looks fused, do not assume a stronger tool will separate it cleanly. Consider whether you can reach it from another side, tolerate a small remaining mark, or reprint with different support placement. For a trapped support inside an enclosed cavity, changing orientation or splitting the model may be more practical than continuing to cut.
Avoid improvising with a heat gun, flame, hot-water soak, or solvent. PLA has limited heat resistance, and its response varies with formulation and geometry. Prusa's PLA material guide describes its heat and post-processing limitations. Heating a delicate feature can change the shape you are trying to preserve.
Clean support marks without losing detail
Separate support removal from surface finishing. First get the structure off safely; then decide which marks actually need attention. A hidden cosmetic nub may be acceptable, while a bump on a mating surface may interfere with assembly.
For reachable marks, use a small piece of abrasive backed by a shape that suits the area. Work locally with light pressure, inspect often, and keep away from crisp edges and thin silhouettes. Try the abrasive on scrap first. Stop if the surface starts to smear, warm noticeably, or lose its intended shape. Collect sanding debris and follow the abrasive and material suppliers' dust precautions.
There is no single grit sequence appropriate for every model. Stop when the surface meets its purpose, rather than chasing every mark. UltiMaker's guide to support materials explains that both remaining bumps and over-cutting or sanding can change a model's dimensions.
Make the next print easier to clean up
Before reprinting, inspect the sliced support contacts. Can you reach them with the tool you actually own? Could a different orientation move them away from a thin edge? Would splitting the model make an otherwise trapped area accessible? Check the whole print after changing orientation, since improving one area can create new support needs elsewhere.
Support settings involve tradeoffs. In PrusaSlicer, top contact Z distance controls the vertical separation, while XY separation controls side clearance. More clearance may ease removal but affect supported surface quality. Wider support pattern spacing can also make removal easier, while too much can leave inadequate support. Consult the settings documentation for your slicer; names and behavior vary.
Start from a suitable material profile and test one change at a time on a small, representative section. Record the filament, layer height, orientation, and setting changed. A gap value copied from another model is not a universal solution. For broader preparation issues, see our guide to 3D printing mistakes beginners should avoid.
A five-point check before your next cut
- I can tell the support from the designed geometry.
- The model rests on a sturdy area, with delicate features protected.
- I can see the contact and the tool's full path.
- I can remove this section without levering against the model.
- I will stop if the feature moves or shows damage.
For delicate PLA prints, a small mark is often easier to live with than a missing detail. Plan each cut around the shape you want to keep.