

To find useful laser engraving settings, test a small design on matching scrap, keep the setup consistent, and compare the details that matter in your finished piece. Choose a result you can read and reproduce. The darkest square is not automatically the best one.
This guide focuses on engraving a surface, rather than cutting through it. You will finish with a short list of settings worth checking on your actual design and a record you can reuse.
1. Decide what a good result should look like
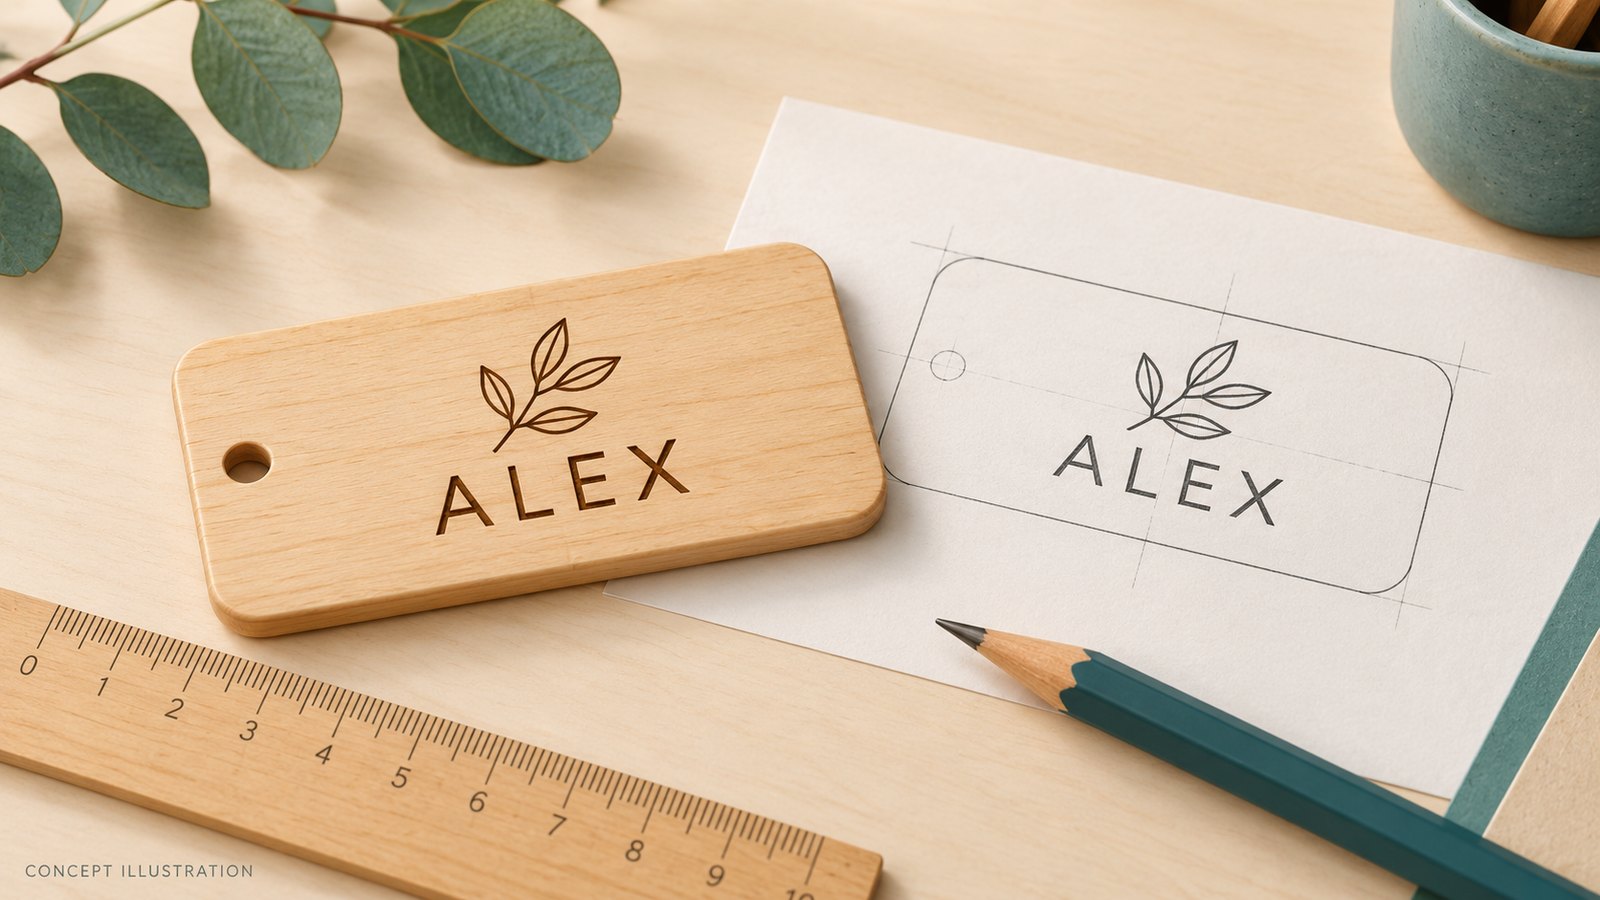
Before making a test, write down what you need. For a name tag, that might be legible letters with open spaces inside them. For a simple illustration, it might be separate fine lines and an even fill. Depth may not matter at all.
Include a small piece of the design in your test: a few letters at their intended size, a line, and a filled shape. Give each sample an identifier in your notes. A large solid square can show tone, but it cannot tell you whether a small letter will remain readable.
- Readability: can you read the text at its finished size?
- Detail: are narrow gaps and separate lines still visible?
- Edges: does the mark keep the shape you intended?
- Surface: is the finish suitable for the project, without unwanted damage?
2. Make the comparison fair
Use offcuts with the same composition and surface treatment as the final piece, ideally from the same batch. Keep track of which face you are engraving. Comparing an untreated offcut with a coated finished blank introduces a different surface before you have changed a single setting.
Confirm that the material is suitable for your machine before testing. An engraving test evaluates appearance; it does not establish whether an unknown plastic, coating, or adhesive is safe to process. Follow the equipment instructions for extraction, enclosure and eye protection, and stay with the running job. MIT’s laser safety guidance explains why material identification, ventilation and supervision matter.
Set focus at the working surface using your machine’s instructions. Keep the sample stable and the artwork size unchanged. Check that the complete test, including labels and margins, fits the available engraving area.
If you are planning a small project with a Hanboost T1 mini laser engraver, check the working area and instructions for your specific model before sizing the test. A grid made for a larger machine may not fit. For the complete preparation sequence, see our first laser engraving guide.
3. Build a small test you can interpret
Start with the equipment maker’s guidance for the confirmed material. If there is no supported starting point, ask for one rather than borrowing a recipe for a different laser.
The controls available vary by machine and software. Where supported, speed changes how quickly the beam travels across the work, power changes the commanded laser output, and passes changes how many times the job repeats. With other conditions unchanged, slower travel or more output generally increases the energy delivered along a path. That does not guarantee a better mark. LightBurn’s speed and power explanation covers this relationship.
Record units as well as numbers. A speed value is incomplete without its unit, and a power percentage is not a transferable measure of optical output between different machines.
- Save the manufacturer-supported starting setup and label the first sample A.
- Choose one adjustable control to investigate. Keep the others, the focus and the artwork unchanged.
- Make a few modest changes within the recommended range, labeling each result B, C and so on. Write down each setting before running it.
- Preview placement and confirm the test is inside the blank. Run it while supervising the machine.
- After the job ends and the work can be handled as directed by the manual, compare the samples together.
If your software provides a material-test grid, you can compare two controls systematically: one changes across columns and the other down rows. Keep the remaining conditions fixed and label both axes. LightBurn’s material-test tutorial shows this approach for supported equipment. Its controls and example values are not a setup recipe for every engraver.
If your machine offers presets instead of separate controls, record the exact preset and any adjustment you actually used. Do not invent a power or speed value for a setting the app does not show.

4. Read the result beyond its color
Compare the samples under the same lighting. Use the four goals you wrote down, rather than choosing the most dramatic mark.
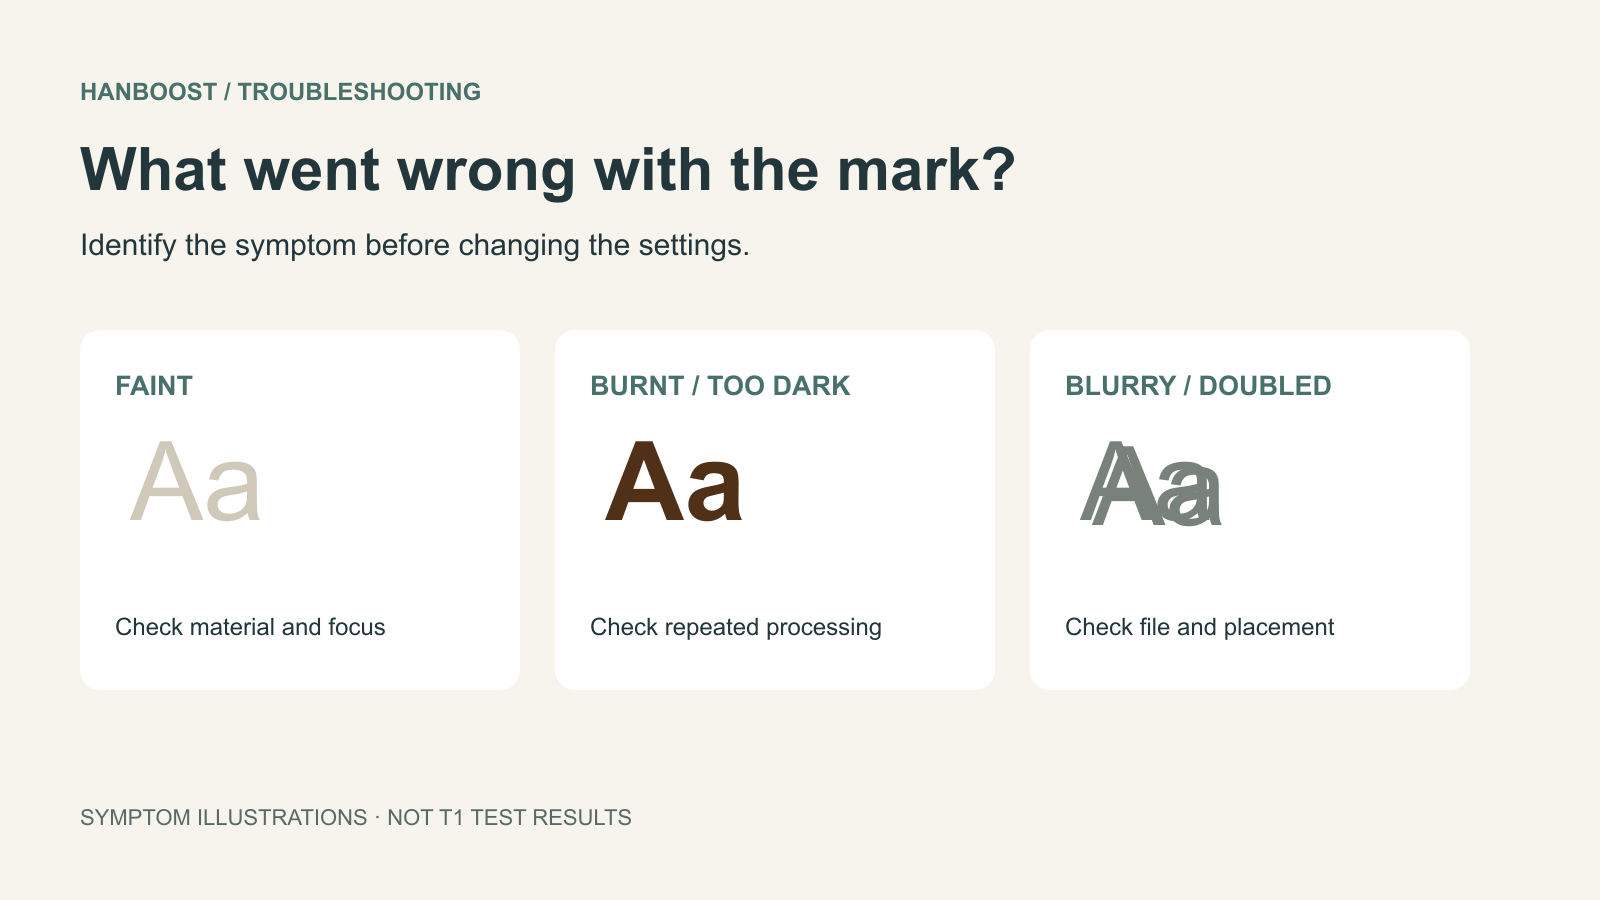
A pale result may lack enough contrast for the project. A darker result may be useful, but inspect the small spaces: if letters close up or neighboring lines merge, extra darkness has cost you detail. Reject unwanted surface damage even if the text is readable.
Describe what you see precisely. “The center of the letter A has filled in” is a better note than “bad.” “Readable, but too faint against the grain” gives you a reason for the next comparison.

If none of the samples works, pause before widening the settings range. Recheck the material, focus and imported artwork. A comparison is less useful if the surface moved or the starting setup was wrong. If there is sustained flame, failed extraction or a machine fault, stop using the equipment according to its emergency instructions; do not continue the test.
5. Confirm the setting on the real design
Take the most promising setting and engrave the actual artwork at its intended size on matching scrap. Inspect the smallest lettering and the busiest areas. This is the point at which to decide whether the design needs simpler details or more space.
Before using a saved setting again, compare the new job with your record. A different material batch, coating, design or working height is a reason to check the relevant conditions again. If you are changing wood, our wood selection guide offers a starting point for choosing a blank; it does not replace your own material check.
6. Keep a record that is useful next time
Copy this template into a notebook or spreadsheet. Keep a photo alongside it, labeled with the same trial identifiers.
- Job: date, project and trial identifier.
- Equipment: machine/model, laser module and software version.
- Material: supplier, batch, thickness, engraved face and known surface treatment.
- Setup: focus method, placement and artwork dimensions.
- Controls: mode or preset, speed with units, power, passes and other available settings used.
- Observation: readability, detail, edges and surface condition.
- Decision: selected trial, actual-design check and next change, if needed.
The useful outcome is a setting tied to a documented material, machine and result. That record gives your next project a sensible starting point—and makes it easier to understand what changed when a familiar setting behaves differently.