

Your first laser engraving does not need to be a detailed photograph or an elaborate gift. A short name on a small wooden tag is enough to learn the decisions that matter: which material to use, how to prepare the design, where it will land, and how to judge the result.
Start with a simple design and a material approved for your machine. Check the fit, prepare the workspace, set focus and placement, then test on matching scrap before engraving the final piece. Aim for readable lettering in the right position, with a surface you are happy to keep.
We will use a ready-made wooden name tag as a teaching example. The steps explain a general workflow; use your machine's current instructions for its controls and operating requirements.
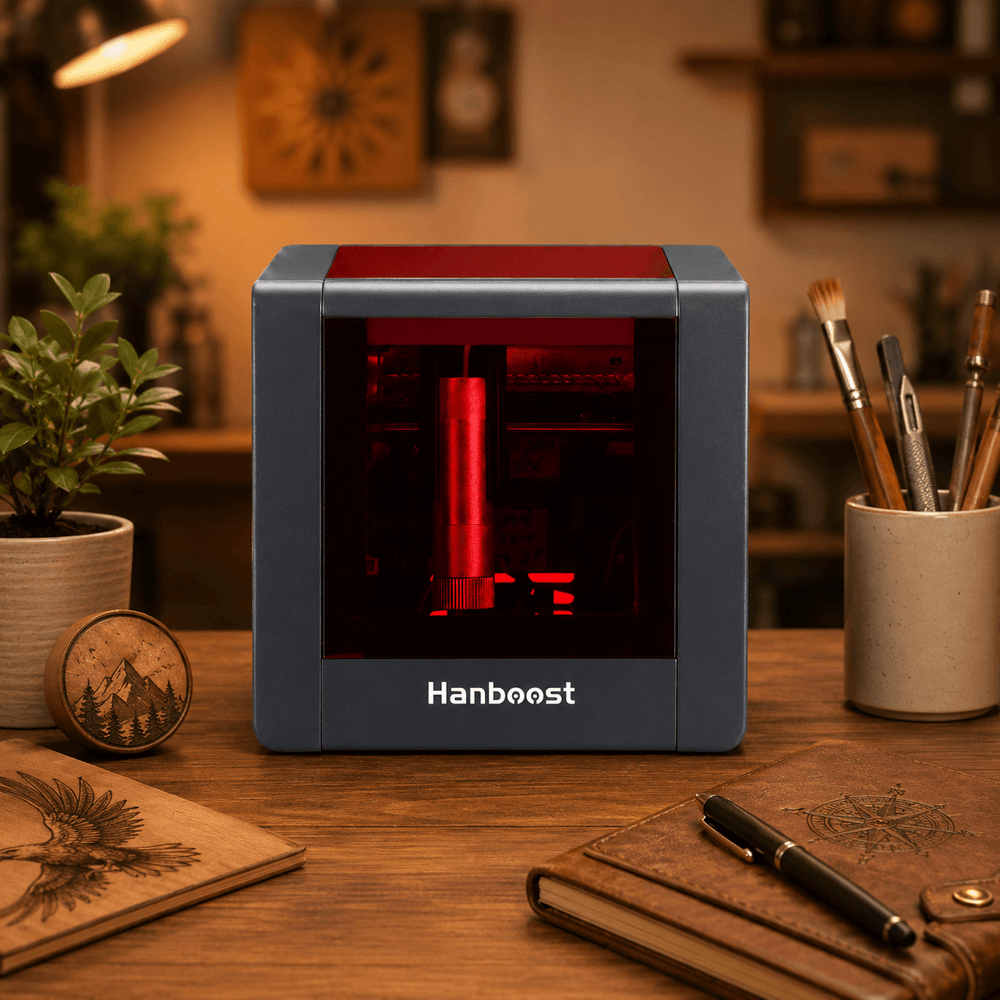
The featured image is an AI-generated concept illustration, not a photograph of a tested Hanboost T1 project. The diagrams below are explanatory and are not to scale.
1. Start with a small, simple project
Choose a flat, pre-cut blank that your machine can accommodate. A single name, such as “ALEX,” gives you something easy to inspect: you can check the spelling, spacing, edges, and position without first learning photo preparation.
Keep the job focused on decorating the surface. Engraving removes surface material, while some marking processes change its appearance without removing material. Cutting goes through the material to separate a shape. The effect depends on the material and laser, so a machine that makes a visible mark is not automatically capable of cutting that item.
For this project, the tag already has its finished shape. You are adding the name, not cutting the outline or making the hole. This keeps the first attempt manageable and gives you a clear goal.
2. Check the material, machine, and workspace
Gather the essentials
- A flat wooden blank with a known composition and suitability for your machine.
- Extra blanks or matching scrap from the same batch for testing.
- A ruler or another suitable measuring tool.
- The software or app supported by your engraver, plus its current user guide.
- The work surface, ventilation, protective equipment, and supervision required by the manufacturer.
A craft-store label that says “wood” does not explain every finish, coating, or adhesive. If the composition or laser suitability is unclear, ask the supplier before processing it. Do not use a trial burn to identify an unknown material. Our guide to choosing wood for laser engraving provides more detail on selecting a blank.
Check three different dimensions
Measure the blank, then consider the space available for the design. Leave room around edges, rounded corners, and any hole. Next, check the machine's engraving area and the size and height of the object it can physically accept. These are related limits, but they are not interchangeable.
For example, lettering may fit within the stated engraving area while the object underneath it is too tall to load correctly. Write down both the design size and the blank's dimensions before choosing a layout.
If you are exploring a compact machine for small name tags and similar projects, see the Hanboost T1 mini laser engraver. Compare its current material guidance, working area, and operating requirements with the project you have planned.
Prepare the workspace before loading the job
Set up the exhaust or ventilation system specified for the equipment and materials. An enclosure does not remove the need to manage fumes. Keep the work area clear of unnecessary combustible items, and learn the shutdown procedure before starting. Never bypass an interlock or leave a running job unattended. These precautions are consistent with MIT's laser cutter safety guidance. If you cannot meet the operating requirements, pause the project until you can.
3. Prepare a design that will stay readable
Begin with the name alone. Choose straightforward lettering and check it at the intended physical size. A font that looks elegant across your screen may have fine strokes or cramped spaces when reduced to a small tag.
Set the design dimensions deliberately and verify the units. The number of pixels in an image is not the same thing as its width in millimeters or inches. Use the size reported by your engraving software, and confirm that resizing has not stretched the letters.
Check how the software will process the artwork. A line operation follows paths; a fill operation covers the inside of a shape. Those can produce different-looking letters. Software names and available modes vary, so inspect the preview rather than assuming an imported file will produce the appearance you want. LightBurn's introductory settings guide illustrates this distinction.
Before saving, check the spelling, orientation, spacing, and margins. If you drew a rectangle to represent the blank, make sure it is only a layout guide and will not be processed. Save a clearly named project file so you can distinguish the final design from experiments.

4. Position the blank, set focus, and preview the placement
Focus and placement answer different questions. Focus concerns the working distance needed to concentrate the beam correctly at the material. Placement concerns where the artwork will appear on the blank. Centering a design does not confirm that it is in focus.
Place the blank flat and keep it stable using the method allowed by the machine's instructions. Any fixture must stay clear of the processing path and must not interfere with the enclosure or moving parts. Follow the manufacturer's focusing procedure; machines differ in how the distance is set.
If your equipment supports a framing or positioning preview, use it as directed to check the design's location and outer bounds. Confirm the orientation, distance from the hole, and edge clearance. A design centered in the software workspace may not be centered on the physical tag. LightBurn's first material test guide explains why focus and output position need separate checks; its buttons are not a universal interface for every engraver.
Once you have verified the position, avoid moving the blank. If you change its location, orientation, or height, repeat the relevant checks. A quick recheck is easier than discovering that half a name sits beyond the edge.

5. Test on matching scrap before engraving the final piece
Start with the manufacturer's recommendations for the exact machine and material. A setting shared online is a reference to investigate, not a guarantee for your blank.
- Power controls the laser output used for the job. A percentage is tied to the machine and its controls, so the same percentage on another engraver is not a transferable recipe.
- Speed controls how quickly the beam travels across the material. With other conditions unchanged, slower travel gives it more time to act on a location.
- Passes repeat the operation. Additional passes can change the surface further; they are not a substitute for checking focus or material suitability.
Check speed units carefully: millimeters per second and millimeters per minute are different. LightBurn's speed and power explanation describes the tradeoffs and why unit mistakes matter.
Use a small, representative sample of the lettering on matching scrap. Keep tests within the manufacturer's guidance and your machine's usable area. Change one setting at a time so you can connect the change to the result. You do not need a large test grid for your first name tag.
Inspect the sample under good light. Are the letters easy to read? Are narrow spaces still open? Is the edge definition acceptable? Is the surrounding wood excessively darkened or damaged? Choose the result that suits the tag, rather than automatically choosing the darkest or deepest sample.
Keep a short record for each trial:
- Material: supplier, type, batch, thickness, and any finish.
- Setup: machine model, design size, and focus method.
- Settings: power, speed with units, passes, and other settings changed.
- Observation: what looked right and what still needed attention.
Retest when the material changes. A useful record describes what worked on a particular setup; it does not turn that setting into a universal wood preset.
6. Run the job, inspect the result, and keep your notes
Load the final blank and repeat the placement and focus checks. Confirm that the saved design and tested settings are selected. Close and secure the equipment as instructed, check the exhaust, and start only when you can stay with the machine.
If a sustained flame appears or extraction stops working, stop the job using the equipment's emergency procedure. Do not continue to see whether the effect improves. Wait for the machine to finish and follow its instructions for safe opening and removal before handling the piece.
Inspect the name, its position, and the surrounding surface. Use only a cleaning method appropriate to the material and equipment; avoid reaching for an unverified solvent to remove a mark.
If the result needs another attempt
- Too faint: first check the material, focus, and whether the tested settings were actually loaded. Do not assume that maximum power is the answer.
- Too dark or rough: compare the final job with the scrap test. Review the settings and artwork for unintended repeated processing before trying a revised sample.
- In the wrong position: check the origin or placement mode, the preview, and whether the blank moved. Increasing power will not correct alignment.
Photograph your own finished piece and save it with the project file and notes. Decide on one improvement for the next attempt: clearer lettering, a better margin, or a cleaner surface. That makes the next project a deliberate adjustment instead of another guess.
Before you press Start
- The material and any coating are confirmed suitable.
- The blank fits, and the design stays within its intended area.
- The required protection and ventilation are ready.
- Focus and placement have both been checked.
- The scrap test is acceptable, and you can supervise the entire job.
A first name tag teaches more than how to make a mark. It gives you a repeatable way to prepare, test, and evaluate a project before moving on to more demanding designs.
