

Moving is rough on a maker's workflow. Tools end up in the wrong boxes. Small parts go missing inside larger ones. A workspace you spent months dialing in suddenly doesn't exist anymore — and rebuilding it from scratch, in an unfamiliar room, with half your stuff still in transit, is genuinely frustrating.
This guide cuts through that chaos. It's a home workshop tools checklist for desktop makers: model builders, crafters, 3D printing hobbyists, and anyone running a serious maker station from a spare room, corner desk, or compact bench. Not a garage. Not a full shop. A bench-focused setup where every tool has to earn its place on a limited surface — the kind of maker tools for small spaces that actually get used, not ones that just look good on a pegboard.
The list is ordered by what to tackle first, so you're back to building in days rather than weeks.
Plan the Workspace Before You Unpack a Single Tool
A cramped or poorly lit station undermines every tool you own. Get the foundation right before anything else comes out of a box.
Choosing a Stable Work Surface and Clear Zones
Start with the bench itself. You want a surface rated for at least 50 kg — enough to handle clamping pressure, a cordless rotary tool running at speed, and the occasional resin print without any flex. Once that's in place, mentally divide the surface into three zones: cutting on one side, assembly in the center, finishing on the other. The zones don't need tape or labels; they just need to be consistent. Knowing where things happen means knowing where tools belong, and that matters more than it sounds when you're mid-project.
Why Lighting and Power Access Matter Before Setting Up Maker Tools
Poor lighting causes mistakes. Eye strain causes more of them. A daylight-balanced task lamp rated at 4000–5000K replicates natural light closely enough to catch defects in paint, misaligned joins, and surface imperfections that warmer bulbs simply hide. Position it to eliminate shadows across your primary work zone.
Power comes next. Four accessible outlets is the practical minimum for a desktop maker setup — rotary tool, lamp, phone or tablet for reference, and one spare. If your new room doesn't have that, a surge-protected power strip within arm's reach solves it. Surge protection matters; a power spike can kill a rotary tool controller or a 3D printer mainboard.
Measuring for Storage Before You Buy Shelving or Organizers
Don't buy storage until you've mapped the room. Measure your drawer space, wall clearance, and shelf depth against your actual tool inventory. It's easy to over-buy bins and pegboards that end up cluttering the surface they were supposed to organize. A few accurate measurements before purchasing saves both money and floor space.
The takeaway: Getting surface, lighting, and power sorted before unpacking prevents the two most common post-move problems — cramped work and poor visibility.
Precision Hand Tools Every Desktop Maker Unpacks First
These handle roughly 80% of daily bench work. Unpack them before anything powered.
The Precision Screwdriver Set You Actually Need
A 60-plus bit set covers electronics, model kits, and 3D printer maintenance in a single compact case. That range matters because desktop makers rarely work on just one thing — a screwdriver set that handles M2 fasteners on a printer also works on electronics, eyeglass frames, and kit assembly. One case, one drawer slot, done.
Why a Hobby Knife Needs Fresh Blades Before You Start Building Again
Sharp blades cut clean lines in foam, card, and thin plastic. Dull ones don't — they drag, compress, and tear material, which means ruined cuts and more force applied right where precision matters most. The blade itself is cheap. The wasted material and frustration aren't. Unpack a fresh pack of blades with the knife, and swap at the first sign of resistance.
Tweezers, Pliers, and Flush Cutters for the Bench
Fine-tip tweezers handle small parts and surface details that fingers can't manage without leaving prints or applying too much pressure. Flush cutters remove sprues from model kits cleanly, leaving a flat surface rather than a nub. A small pair of needle-nose pliers rounds out this trio for bending wire, holding small fasteners, and reaching into tight assemblies. All three sit in a small cup or tray near the assembly zone.
Which Measuring and Marking Tools Are Essential for a Compact Craft Workspace?
A digital caliper with 0.01 mm resolution and a metal ruler. The caliper handles everything from checking print tolerances to confirming that a part matches its intended dimensions. The ruler guides cuts and provides a reliable straight edge. Both are small, both earn their surface space every single session — a good example of compact craft workspace organization done right: nothing on the bench that isn't pulling its weight.
The takeaway: A compact set of precision hand tools restores most of your workflow before any power tool leaves its box.
Compact Power Tools for Cutting, Shaping, and Finishing
Power tools handle what manual tools do slowly or inconsistently. On a small bench, the goal is multi-use models that don't eat surface space.
What a Cordless Rotary Tool Can Do in a Desktop DIY Workshop Setup
One tool sands, grinds, polishes, engraves, and trims with swappable attachments. A cordless rotary tool kit is the highest-value single purchase for a compact maker setup precisely because of that range — it replaces a drawer of single-purpose tools. Cordless also means no cable management headaches and easy positioning around a small bench. Battery life varies by brand, so check runtime on the spec sheet before buying.
When a Wireless Ultrasonic Cutter Outperforms a Hobby Knife or Rotary Tool
For resin prints, thin plastic sheet, and foam board, a wireless ultrasonic cutter is cleaner and faster than either. The blade vibrates ultrasonically rather than dragging, which means it slices with minimal force and leaves smooth edges without the heat or dust a rotary generates. It's not a replacement for a hobby knife on paper or card, but for harder or more brittle materials, it's noticeably better.
|
Tool |
Best For |
Precision Level |
|
Cordless rotary tool |
Sanding, grinding, polishing, engraving |
Medium–high |
|
Wireless ultrasonic cutter |
Resin prints, plastic sheet, foam board |
High |
What to Look for When Buying Compact Power Tools
Battery life first — a tool that dies mid-session is worse than a corded one. Low vibration second, especially for engraving and fine detail work. Available accessories third, because a rotary tool without a good accessory ecosystem limits what you can actually do with it. Raw motor size matters much less than these three factors for the work a desktop maker typically does.
The takeaway: Two or three well-chosen power tools replace a drawer of single-purpose gadgets without eating your bench.
Tools That Support 3D Printing and Model Finishing
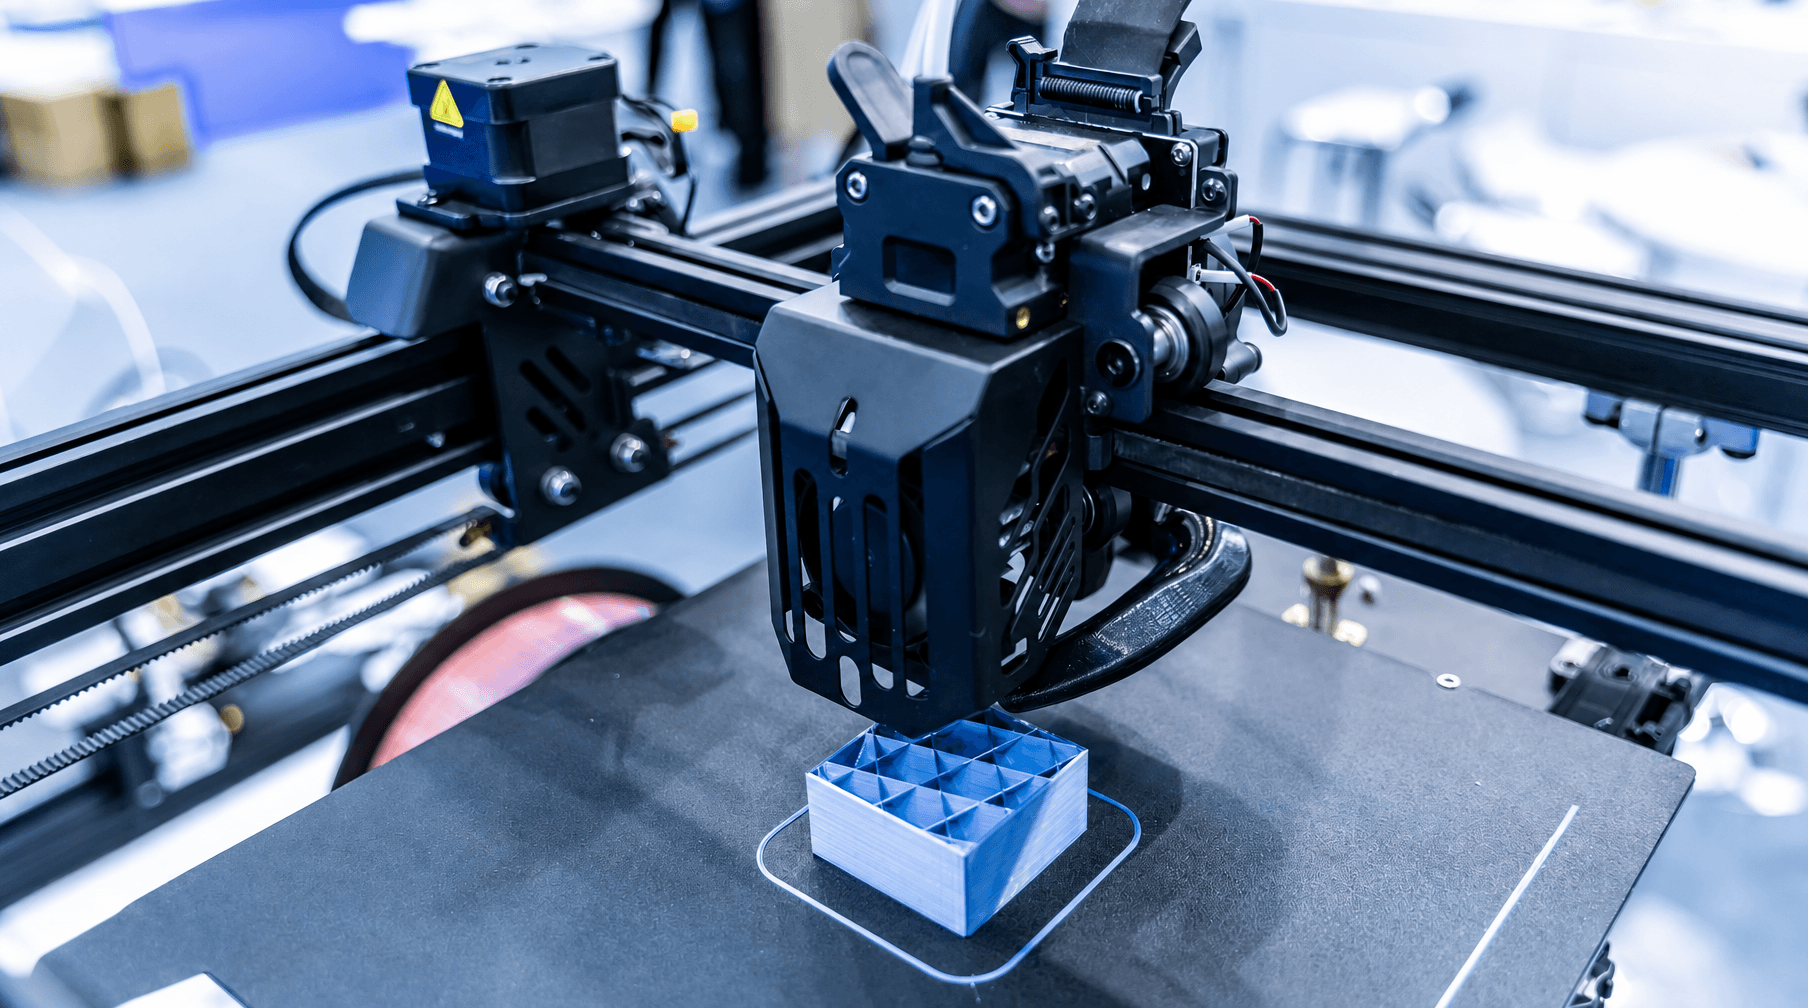
3D prints and model kits rarely come off the plate or sprue ready to use. Post-processing tools are what turn raw parts into finished work — a core part of any real 3D printing workshop essentials list, not an afterthought.
Deburring and Cleanup Tools for FDM Prints
A deburring tool removes sharp edges and layer lines in seconds — much faster and more controlled than sanding alone. Keep it within reach of the printer so cleanup happens immediately after a print comes off the bed, before parts get moved to the assembly zone. Developing this habit keeps the bench cleaner and makes parts easier to handle.
How to Sand and Polish 3D Prints for Painting or Display
Work through grits progressively: start around 200 to remove visible layer lines, move through 400 and 800 to smooth the surface, finish at 1500 to 2000 before any primer or clear coat goes on. Sanding attachments on the rotary tool speed up the early grits; hand sanding gives more control on curved surfaces and fine details. Skipping grits costs time — you end up going back.
Print Maintenance Essentials Worth Keeping Nearby
Nozzle cleaning needles, the correct hex drivers for your printer's fasteners, and a metal scraper for bed removal. These three items solve 90% of routine maintenance tasks. Store them in a small tray or magnetic strip right next to the printer, not in a drawer elsewhere. Distance from the machine means they won't get used consistently.
Organizing Small Parts and Hardware After a Move
Labeled compartment trays, grouped by project or material type. Loose nozzles, spare screws, and small hardware disappear fast in a new space. Trays with individual labeled sections prevent that. Clear lids let you see what's inside without opening everything. Start with one tray per active project and expand from there.
The takeaway: A short kit of finishing tools separates a raw print from a display-ready piece.
Organize for Workflow, Not Just Storage
Storage hides tools. Organization keeps the right tool within reach at the right moment — and that difference decides how fast you actually work.
Task-Based Organization Beats Sorting by Tool Type
Cluster cutting tools in the cutting zone, fastening tools in the assembly zone, and finishing tools near the finishing side of the bench. It sounds obvious, and it is — but most people default to organizing by type (all screwdrivers together, all blades together) because that's how tool stores display things. Task-based grouping cuts reach time and reduces the mental friction of switching between stages.
Storing Tools Efficiently in a Small Workshop Space
Vertical first. A pegboard above the bench stores hand tools without taking surface space. Shallow drawers below store power tools and accessories without requiring you to dig through deep bins. The principle is simple: the more frequently you use something, the closer and more accessible it should be. Reserve deep storage for consumables and rarely-used items.
Setting Up a Charging Station for Cordless Tools
Dedicate one outlet strip to cordless tool charging — rotary tool, ultrasonic cutter, any cordless drivers. Keep chargers permanently plugged in and labeled. This means batteries are always ready when you sit down to work, and you're not hunting for chargers across the room mid-session. One strip, one spot, one habit.
The takeaway: Task-based organization turns a crowded desk into a station where every tool has a reachable home.
Safety and Surface Protection for a Home Bench
A home workshop sits close to living spaces. Dust, blades, and heat all need active management.
Personal Protection Equipment for a Desktop Maker
Safety glasses any time you're cutting, grinding, or running the rotary tool. A dust mask when sanding resin or MDF — both produce fine particles that are harmful with repeated exposure. Neither piece of gear is expensive or inconvenient. Keep them on the bench rather than a shelf so there's no reason to skip them.
Protecting a Home Desk From Cutting and Heat Damage
Two items: a self-healing cutting mat and a heat-resistant pad. The cutting mat handles blade work and protects the surface underneath. The heat-resistant pad sits under anything that generates warmth — soldering work, heat guns, even a printer that runs hot. Both are cheap relative to replacing a desk.
Controlling Dust and Debris on a Compact Bench
A small handheld vacuum or a soft brush cleared after every session. Filings and dust from sanding or cutting accumulate fast and work their way into tool mechanisms if left. One minute of cleanup at the end of each session prevents most of the damage that comes from debris buildup over time.
Your First-Week Home Workshop Tools Checklist After Moving In
Decision fatigue is real after a move. A set order removes it and gets a working station running faster.
1. Unpack the work surface, lighting, and power first. Before tools come out of boxes, confirm the bench is stable, the lamp is positioned, and the power strip is in place. This is also the moment to check that precision tools and electronics survived transit intact — something that depends heavily on how carefully everything was packed and transported to begin with. If you use professional movers who packed your gear properly, this step is quick. If things were packed in a hurry, expect to spend time here.
2. Set out precision hand tools and run a quick test project. Something small — a few cuts, a simple assembly. Confirms everything made it and gets your hands moving again.
3. Add power tools and confirm every battery charge. Plug in all chargers before you need the tools, not when you're mid-project and the battery is flat.
4. Restock consumables. Blades, sandpaper, adhesives, bits. These are the things that run out at the worst possible moment. Check levels and order before you need them.
5. Adjust zones and storage as real projects reveal what you actually reach for. The first layout is a starting point. After a week of actual work, you'll know what needs to move.
The takeaway: Following a set order removes decision fatigue and gets you back to building within days.
Get Back to Building Faster
The difference between a functional workshop and a frustrating one comes down to setup order. Plan the surface and environment first. Restore hand tools next. Add power tools once the foundation is solid. Keep finishing and printing tools within arm's reach of where you use them. Organize by task, not by type.
Print this checklist and work through it in order after your next move. A methodical home workshop setup takes less time than an improvised one — and you end up with fewer lost parts, no repurchased tools, and a bench that actually works the way you need it to.
Frequently Asked Questions
What tools should I unpack first when setting up a home workshop after a move? Work surface, task lighting, and power access come first — before any tools leave their boxes. Once those three are in place, unpack precision hand tools and run a small test project to confirm everything survived transit. Power tools come last, after you've confirmed the bench layout works.
How much space do I need for a functional desktop maker workshop? A stable surface of roughly 120 cm × 60 cm (about 4 ft × 2 ft) supports most crafting, model building, and 3D print finishing work. The key requirement is stability — a surface that flexes under clamping pressure or rotary tool vibration creates inaccurate cuts and failed joins.
Which single power tool is most useful for a compact maker setup? A cordless rotary tool. It sands, grinds, polishes, engraves, and trims with swappable attachments, replacing multiple single-purpose tools on a bench where surface space is limited. Battery life and accessory availability are the two most important factors when choosing a model.
How do I protect a home desk from blade and heat damage when working? A self-healing cutting mat handles blade work, and a heat-resistant pad protects the surface from anything that generates warmth. Both items are inexpensive and together cover the two most common causes of desk surface damage in a home maker setup.
What's the best way to organize small parts and hardware in a new maker space? Labeled compartment trays grouped by project or material type. Clear-lid versions let you see contents at a glance. Store trays in shallow drawers near the zone where you use them — nozzles and printer hardware near the printer, cutting consumables near the cutting zone.
How do I stop tools going missing in a new workshop space? Task-based organization is the most effective preventive measure. Each tool lives in the zone where it gets used, not in a general storage area across the room. Pegboards and shallow drawers keep frequently used tools visible. Anything that has to be searched for will eventually be left in the wrong place.