

If your laser engraving is faint, burnt or blurry, identify the symptom before changing the settings. Check the material and imported design, confirm focus and placement, then test one change on matching scrap. Increasing power can make some problems worse and cannot repair missing detail in a source image.
Use the section that best matches your result. These are possible causes and checks, not a diagnosis of a failed component or a repair procedure for a particular machine.
First, decide whether to stop
Do not run another attempt if the material or coating is unidentified, extraction has failed, the machine reports a fault, or there is sustained flame. Follow the equipment’s stopping and emergency instructions. Do not bypass a cover, interlock or other protective feature to investigate a quality problem.
Know what you are processing, use the ventilation and protective measures specified for the equipment, and remain present during operation. MIT’s laser safety guidance covers material hazards and supervision. A small successful mark does not establish that an unknown material is safe.
Before retrying, save the current settings and photograph the result. Note whether the defect affects the whole image, one side or a specific detail. That distinction helps you decide where to look.

If the engraving is too faint
Start with suitability and setup. Confirm the exact material and surface finish are supported by your equipment. Then check the working distance using the manufacturer’s focus procedure. In laser engraving, focus affects the beam spot at the surface; a setting alone cannot compensate for every setup problem.
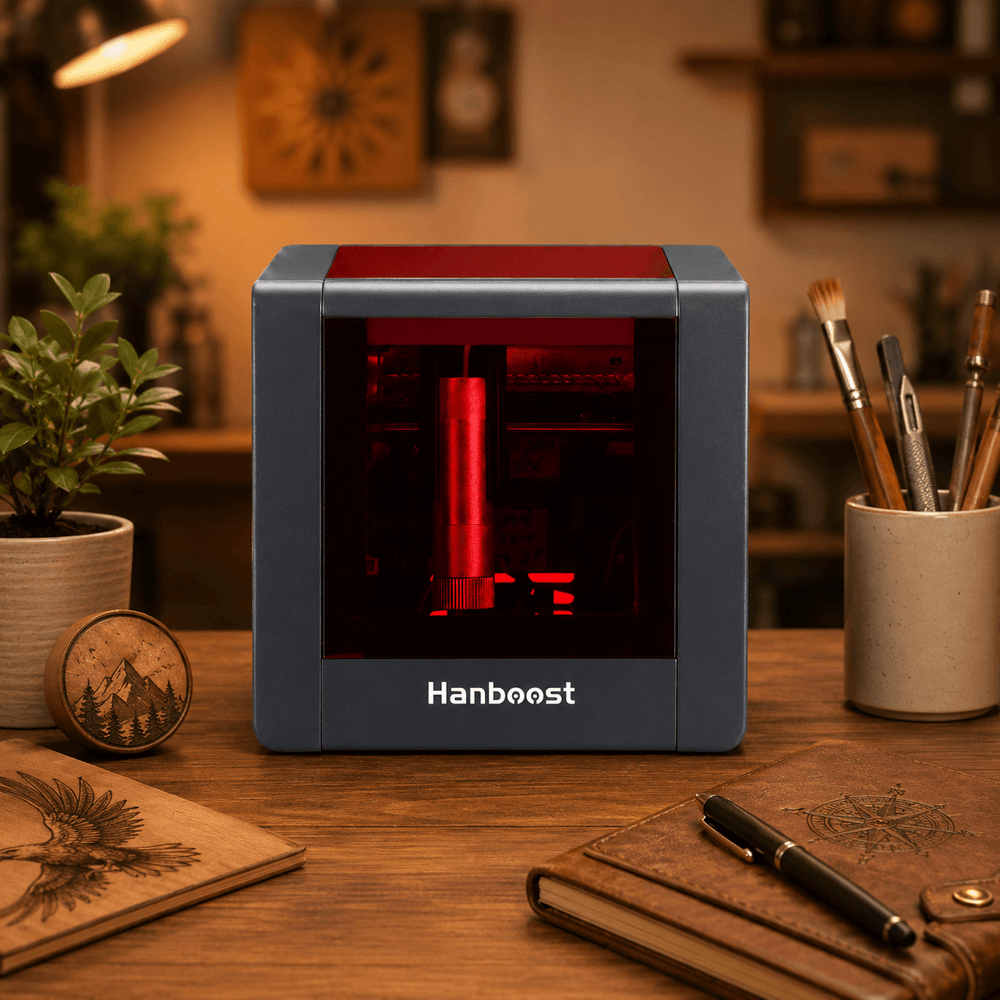
For a compact machine such as the Hanboost T1 mini laser engraver, use the instructions for the specific model and module when checking the project’s fit and setup. Do not assume settings from another machine will give the same result.
Is the entire design faint?
Open the job you actually sent, rather than relying on a remembered preset. Check the selected mode, material preset and available controls. Confirm that you sent the intended artwork and that its light areas are meant to engrave.
Once those checks pass, compare a small adjustment within the maker’s recommended range on matching scrap. Record exactly what you changed. If speed and power are adjustable, their relationship affects the energy applied to the surface; this technical explanation is useful background. It does not supply universal values.
Is only one area faint?
Look for differences across that area: a change in the material surface, a raised or uneven portion, or a part of the image that is lighter in the preview. Use these observations to choose a check, rather than increasing power over the whole design immediately.
Repeating the same job may deepen existing marks, but it does not tell you why the first attempt was uneven. It also depends on the work staying aligned. Diagnose on scrap before risking the final piece again.
If the engraving is too dark or burnt
Describe what “too dark” means. Is the tone simply stronger than you wanted, or have the letter openings closed, edges widened or the surface been damaged? A darker appearance alone is not enough to identify the cause.
Check whether the job used more passes than intended. Where the software shows paths or layers, inspect for duplicate objects or multiple operations covering the same area. One object can look correct on screen while the job sends the laser over it more than once. LightBurn documents how overlapping layers can repeat an engraving; inspect equivalent features only if your software provides them.
If the entire design is too aggressive and the setup is otherwise correct, use matching scrap to test a less aggressive setting within the equipment guidance. Change one available control at a time. Keep the design unchanged so you can tell whether the setting made the difference.
If only particular outlines or corners are affected, save that observation and inspect the job preview before changing the whole image. Localized defects can require software- or machine-specific guidance. LightBurn’s burned-edge troubleshooting describes a software-specific overscanning issue that can darken edges.
Do not try to solve a process problem by repeatedly engraving the finished object. A fresh, comparable sample is easier to interpret than a mark that has already been processed several times.
If the edges are blurry or doubled
Check the file before the machine
Look at the imported design at its final dimensions. If a small logo or word is already indistinct, return to the source artwork. Use a clearer original, simplify the detail or allow more space. Enlarging a low-quality image does not recreate detail that was absent from it.
For a photo, separate source-image adjustments from engraving settings. Brightness and contrast affect the input; focus and the machine’s process settings affect how it is reproduced. LightBurn’s image engraving guide discusses these as separate adjustments. Not every machine exposes the same controls.
If the preview is clear, inspect the setup
Check focus at the actual surface, not at a different-height reference. Make sure the blank has stayed in position and that the surface is seated as intended. Wider, fuzzy edges and distinct offset copies of a line are different observations; record which you see.
If a second pass produced an offset copy, investigate alignment and possible movement before repeating it. If the issue persists with a stable blank and a checked setup, use the manufacturer’s troubleshooting instructions. This guide to blurry edges provides background on focus and other possible causes, but adjustment procedures depend on the machine.
Inspect or clean accessible parts only as the equipment manual directs, with the required shutdown procedure. Do not open optical assemblies, adjust internal components or disable protection based on a generic blog checklist.
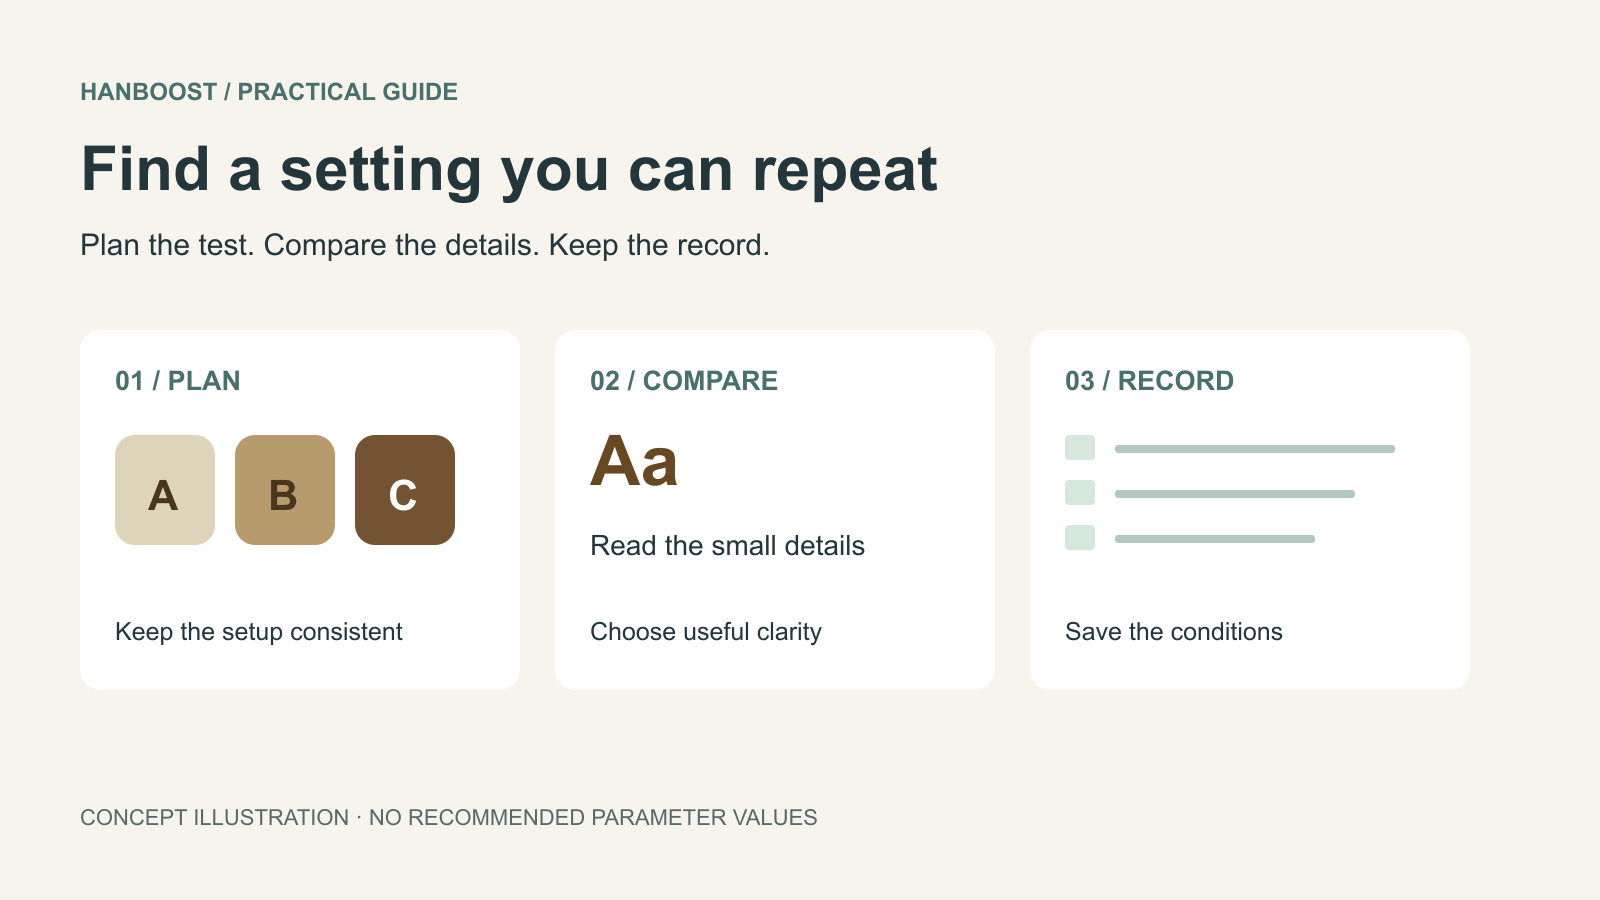
Make one controlled retry
Write a one-sentence hypothesis: “The small text is already unclear in the imported image,” or “The blank may not have remained level.” Then choose one check or correction that addresses it.
- Keep the original file, settings and result photo.
- Use matching scrap with a confirmed composition and surface treatment.
- Change one condition. Keep the rest of the setup consistent.
- Run a supervised test and inspect it under comparable lighting.
- Record whether the specific symptom improved, stayed the same or changed.
If you need to rebuild the preparation sequence, our first laser engraving guide walks through the job from design to inspection.
Know when to ask for help
If basic checks do not explain the problem, or the equipment behaves abnormally, pause and contact the manufacturer. Send the model and module, software version, material supplier and known coating, original file and preview, settings with units, and a clear result photo. Include what you changed and what happened.
That information is more useful than “it does not engrave properly.” It lets support distinguish a material or file issue from a setup or equipment problem without asking you to repeat the same experiments.