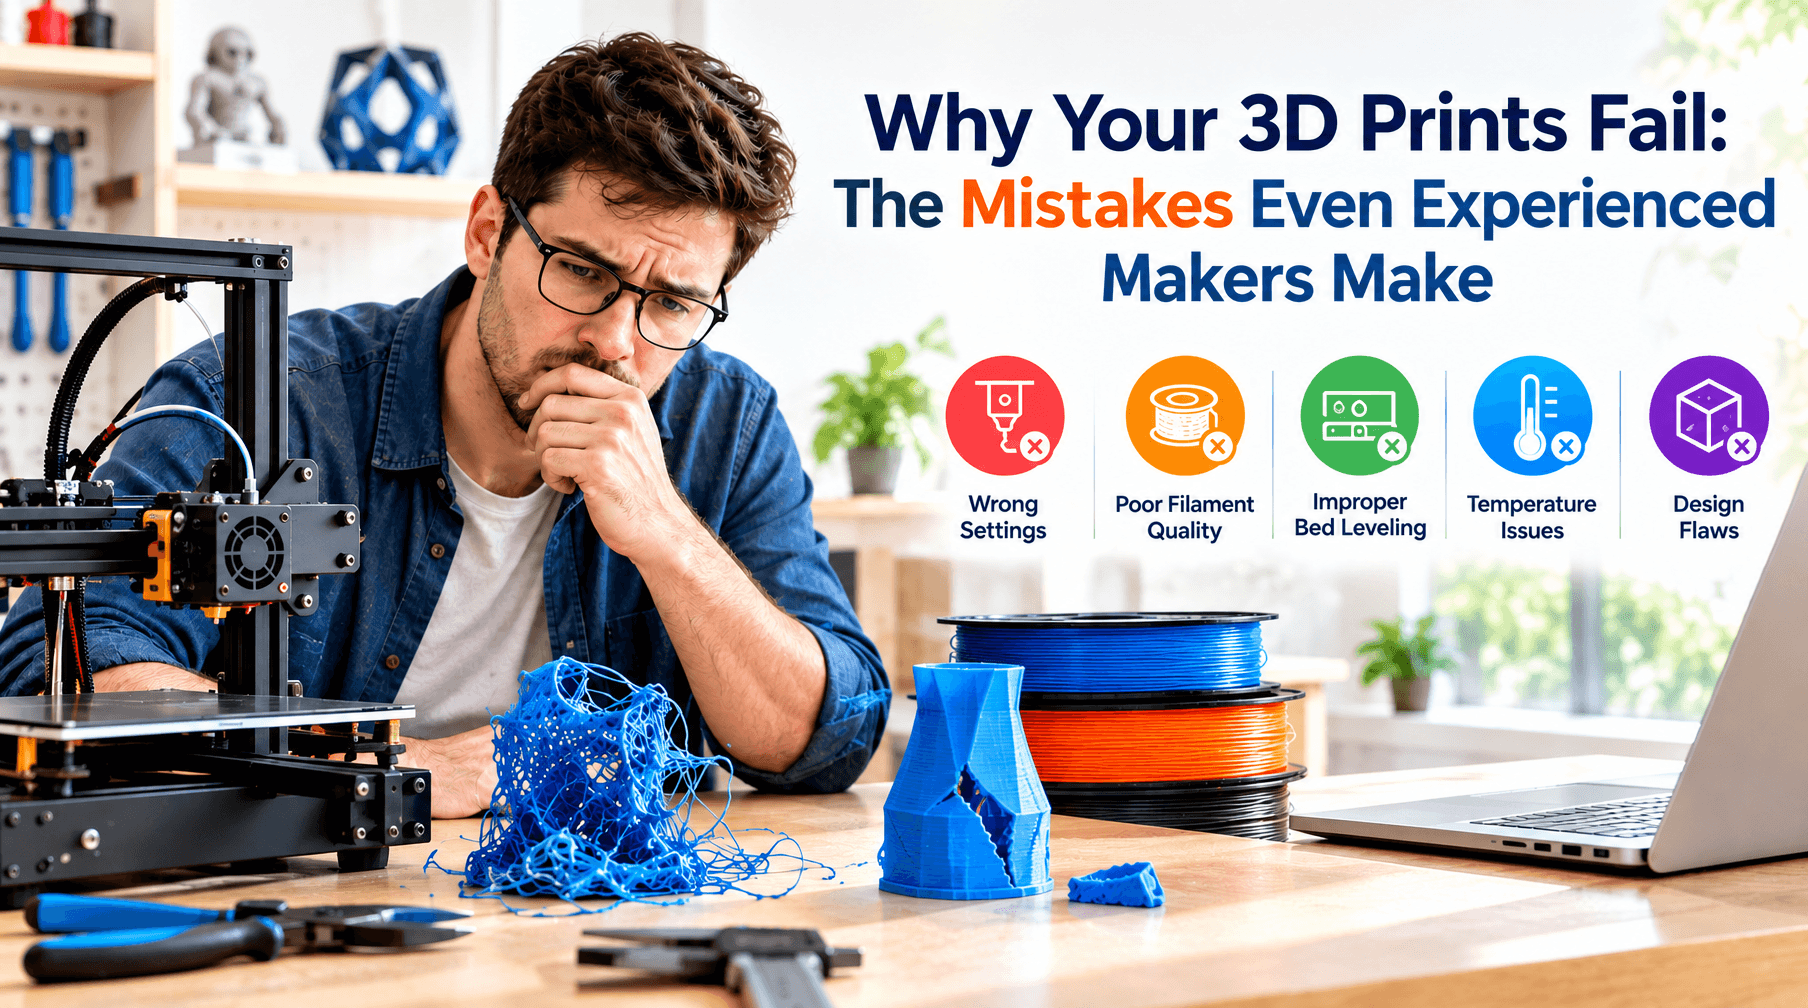


Now than the 3D printer more easily than anyone can print in home useful objects, prototypes, models and unique design. Unfortunately, to achieve the desired result is not so simple – just save the file and push the “print” button. First time when people start using a 3D printer they are usually having issues like sticking plastic to the build plate, settings, wasted attempts or frail end products.
The majority of new 3D printing troubles can be eliminated just by knowing the basic parameters to set, and building a logical way to printing. You can make the greatest benefit of the filament and solve your frustration by adjusting the printer carefully before you start printing, picking the right printing medium, and inspecting the model, then you can start the print.
Skipping Printer Calibration
One of the largest mistakes beginner makers make is to begin printing before calibrating the printer properly. If a printer is out of calibration it can cause issues like uneven layers, adhesion problems, parts that are not quite right size, or not repeatable.
Before starting important projects, beginners should check the print bed, nozzle, extrusion settings, and other basic calibration parameters. Regular calibration becomes particularly important when changing filament types or making adjustments to the printer.
Check the First Layer
This first layer is especially critical because it forms the base of all of the rest of the print. If the nozzle is to far away from the bed the filament will not be able to stick correctly, or if it is too close the filament will be made flat, and become to thick.
Using Incorrect Print Settings
Each 3D printer and filament may require a different setting. Newbies occasionally just set default profile settings and don't think about things like the height of the layers, print temperature, speed and infill.
Bad printer settings will give you problems like stringing, warping, poorly fused layers, a rough or bad surface, a half completed object and much more. Start with manufacturer recommended settings, community recommended settings or simply a guess based on some knowledge and make small changes and test them out.
Choosing the Wrong Filament
Depending on what you’re printing and with which 3D printing filament, printing preferences vary. One of the benefits of buying a 3D printing machine is the vast range of different materials to print with – PLA is an accessible filament that is very beginner-friendly, as it can usually be printed within relatively lower temperature requirements and is very common. ABS, PETG, TPU, Nylon etc require vary different requirements in terms of printing temperature, environments and 3D printer specifics.
Beginning Makers need to be aware of the general qualities of their material prior to embarking on a project. All the printing problems that a Maker might experience, is quite likely simply a result of choosing a filament simply based on color or value.
Ignoring Bed Adhesion
Bed adhesion is another commonly experienced failed print. Should the first layer not be firmly stickied to your printer platform you will result in a shifting or distorted print.
You could also help improve this further by making sure the print surface is clean, and perfectly leveled and, for some printers and materials, that you have an adequate bed temperature, build surface, or method for bed adhesion.
Printing Too Fast
When they start experimenting with this setting, Beginners often pay the price by sacrificing the quality of their model. It is so appealing to have the opportunity to spend less time to print your model.
Going Too Fast: This could cause Ringing, Layer shifting, weak overhangs and a poor surface quality to your prints. This first should really only be tried out after you’ve found reliable prints with slower speeds.
Using Poor-Quality or Damaged Filament
The effects of the print materials The quality of filaments used during prints has a huge influence on the success of prints. Some materials that are very sensitive to moisture will draw this moisture out of the atmosphere causing defects that may include: bubbled surfaces, irregular extrusion, poor layer strength and an uneven finish.
The filament should be stored in the right environment, and kept dry when in use. Beginners should also check if filament looks brittle and knotted before starting a large print.
Ignoring Model Orientation
Model Orientation on the print bed is critical to the model strength and surface finish as well as the amount and type of support that may be necessary and the eventual print time. Often beginners will simply use what they default to and print it without consideration to it's usage.
In some cases, rotating a part can reduce the need for supports or enable you to strengthen a critical feature. Before you print the part, inspect the model for the most important surface quality required for your part and where the stress will occur.
Using Too Much or Too Little Infill
For a number of 3D printed models, you'll find that infill is used to reinforce the internals of the part. Infill seems like an obvious parameter to experiment with if you’re looking for sturdier parts and just can’t seem to get things strong enough, yet adding more infill often results in extra material usage and print time and yet provides absolutely no useful improvement.
After completing printing for the 3D models, some of the models will need the removal of supports, trimming of excessive layers of material, or any minor repairs for better finishing. When beginner should know how to choose the right tool for post-processing of 3D model to avoiding damaging the smaller or sensitive areas while using physical force. An ultrasonic cutter for 3D printing can be useful for removing support structures and refining intricate details with greater precision.
Internal Support to Objects: Most 3D printed objects require internal structures that are often supplied by infill. Those new to this technology may have thought that making infill higher is better, not understanding that it results in wasted material and longer prints for no added advantage. If you have too little infill, it will lead to an otherwise useful object not to be as strong as it should be. After printing, proper finishing can also improve the appearance of a model, and a 3D print model kit can provide tools for trimming, smoothing, and polishing printed parts.
Match Settings to the Purpose
For example a decorative print might not need the same infill/wall settings as mechanical part of some machine and beginners might be wondering if that model they've chosen is for looks, for casual use, for strength or for proof of concept etc.
Forgetting to Use Supports When Needed
A number of models require additional support because of overhangs, bridges or complex curves. Beginner models often leave support structures for the user to remove. Some beginner models leave the supports as an optional material cost reduction but removing a support during a print will cause parts of your model to collapse during printing.
When the geometry does call for support it should be utilized accordingly. At the same time it helps not to add needless support because there's post processing that is incurred from them. Gaining skill in tweaking supports can be advantageous.
Neglecting Regular Printer Maintenance
A 3D printer has moving parts and components that need to be cleaned and maintained from time to time. Dust, a sagging belt, a clotted hotend nozzle, a filthy print bed, and worn-out hardware components all reduce the quality of your prints over time.
Small measures can solve most of the cases, Beginners can always check the condition of the printer, clean essential areas from the dirt, inspect all of the movable elements and follow manual guidelines for routine maintenance of a device.
In addition to the regular maintenance, a 3D printer still needs some post processing instruments that can also contribute to a finer output. Once you remove the support structures or the rough bits and edges, new makers might still require grinding tools to make those adjustments and fine-tuning on the final print. A cordless rotary tool for 3D printing can provide greater control for these finishing tasks and help create a cleaner final result.
Starting With Overly Complex Models
Download the newest update after purchasing is great but it may needs to install in to your device differently or may it have to support some special designs.
If they stick to these basic models first they can get a feel for the machine without burning through tons of filament and learning the usual problems to encounter. After getting comfortable with the default settings they can advance to the more challenging prints.
With more experience, individual users will start to become accustomed to seeking higher end/state of the art 3D printing industry applications. 3D printing technology is employed throughout the globe in industries such as: Healthcare, automotive, aerospace, and education etc. By assessing broader market applications we will gain some greater insight to the individual consumer applications of 3D printing technology. For a deeper overview of industry growth, technologies, applications, and end-use trends, readers can explore the 3D printing market report.
Failing to Check the Model Before Printing
Even when the model seems fine on the computer, there could be some issue that causes printing problems. These issues can be non-manifold geometry, unsupported section, extremely thin wall or invalid dimensions.
Before you start a print you can take a preview look at a sliced model on a layer by layer basis and it may highlight errors. Beginners are advised to look at the estimate materials usage, estimated print time and to decide on supports and check all individual slices first.
Leaving Long Prints Unmonitored
Although there may not be any requirement for you to stare at the print constantly, you should not take it to be the case for all long printings. Adhesion issues, tangled filament, wrong temperatures, or a broken part can also cause problems with your printing.
Conclusion
Learning about the most common 3D printing errors can make the entire journey a much less arduous experience for first-time 3D printing users. This includes proper leveling, selection of optimal printing settings, suitable storing of filament, reliable print beds, orienting of the 3D model, and maintenance of all components.
Experimentation is key Unfortunately, the best and most pragmatic solution to improve results is trial and error – one step at a time, through repeated printing experiments. Don't throw caution to the wind, or try to change all of your parameters at once. Only change one variable at a time with small incremental amounts, see how the print turns out, learn, tweak again, repeat. This way, after some work and building up a good set workflow of printer settings, 3D printing will turn out to be as stable, affordable and rewarding manufacturing and creative solution as possible.