

A design can look clean and sharp on one piece of wood, then come out patchy on another. Even boards that look similar at first can react differently once the laser starts working.
The species matters, but so do the grain, color, moisture, resin, and overall quality of the board. You do not need to know everything about lumber before starting. It helps to slow down, inspect the piece, and think about whether it fits the design you plan to engrave.
Start With the Board in Front of You
Fine, even grain is usually easier to work with. It gives small lettering and detailed artwork a cleaner background.
A noticeable grain is not always a problem. It can work well with larger lettering, simple logos, and western designs. Fine details are harder to pull off because they can get lost in woods like oak, pine, or walnut.
It also helps to check the board before you start. A knot, streak, or darker patch can end up cutting through a name or date. Sometimes shifting the design slightly is enough to avoid it.
Wood color affects contrast too. Engraving usually stands out more on lighter wood. On darker wood, such as walnut or cherry, the result may be softer and less obvious.
That is not always a bad thing. Some projects need clear, dark lettering. Others look better when the engraving blends into the natural color of the wood.
Basswood, Alder, and Maple
Basswood is a practical place to start. It has a light color and a subtle grain, so it works well for ornaments, small signs, model parts, and detailed designs.
It is also soft, which means it can burn deeper than expected. Start with less power and adjust from there. A second light pass is usually safer than trying to get the full depth at once.
Basswood can dent fairly easily, so think about how the item will be used. It may be fine for a decoration that hangs on a wall, but it would not be the first choice for something that gets handled every day.
Alder has a warmer color and usually engraves evenly. It is commonly used for plaques, photographs, signs, and personalized gifts. It gives the wood some character without placing a heavy grain behind the design.
Maple is harder, but its pale color and tight grain make it a good choice for fine details. Small lettering tends to remain clear, and the finished item is more durable than one made from basswood.
It may take a little more testing to find the right settings for maple. Once you do, it works well for cutting boards, serving pieces, keepsakes, and other items that need to stand up to regular use.
Cherry and Walnut
Cherry has a warm color and a smooth surface. It is a good fit for gift boxes, plaques, signs, and display pieces.
Its color may deepen as the wood ages and is exposed to light. That can change the contrast over time, particularly if the original engraving is fairly light.
Walnut starts out much darker. It is often used for serving boards, signs, boot jacks, and other personalized pieces.
Looking at finished work from Pate Ranch Creations can help show how much the grain and natural color of the wood affect the final appearance.
The main issue with walnut is visibility. Dark engraving on a dark board can be difficult to read. Large lettering and simple artwork usually work better than tiny text or a detailed photograph.
Some makers add paint or another fill to the engraved area. This can improve contrast, but it is worth testing first. Paint can settle into the surrounding grain or leave marks that are difficult to remove.
Not All Plywood Is the Same
Plywood can be a good option for ornaments, signs, layered artwork, and projects that need to be cut as well as engraved. It is flat, easy to find, and usually less expensive than solid hardwood.
The outside veneer only tells part of the story. The inner layers affect how the sheet cuts, how much smoke it creates, and whether the edges come out clean.
Lower quality plywood may contain gaps, patches, or uneven layers of glue. You may not see any of those problems until the laser reaches them.
The core matters too. Plywood with a wood core may cut differently than a sheet built around MDF. A basswood core, for example, can cut cleaner and faster than MDF core material. That can be useful when a project includes both engraving and detailed cuts.
Prefinished plywood is another option. It saves the sanding and finishing work that would normally come after cutting, which can be helpful when producing several pieces at once. The finished surface may respond differently to fine engraving, so it still needs a test run.
Buy from a supplier that clearly explains what the plywood contains. Avoid sheets with unknown adhesives or coatings, since they may create unpleasant or unsafe fumes when heated.
Plywood should also be stored flat. Thin sheets can warp when they are leaned against a wall or exposed to changing humidity.
Match the Wood to the Project
The easiest wood to engrave is not always the right wood for the finished item.
An ornament can be light and delicate. A cutting board, serving tray, or boot jack needs to hold up to regular handling. A soft wood may engrave quickly, but a harder species may make more sense for something that will be used rather than displayed.
Project size matters too. Large machines are useful for signs and production work, but they may be unnecessary for small tags, samples, model pieces, and compact gifts.
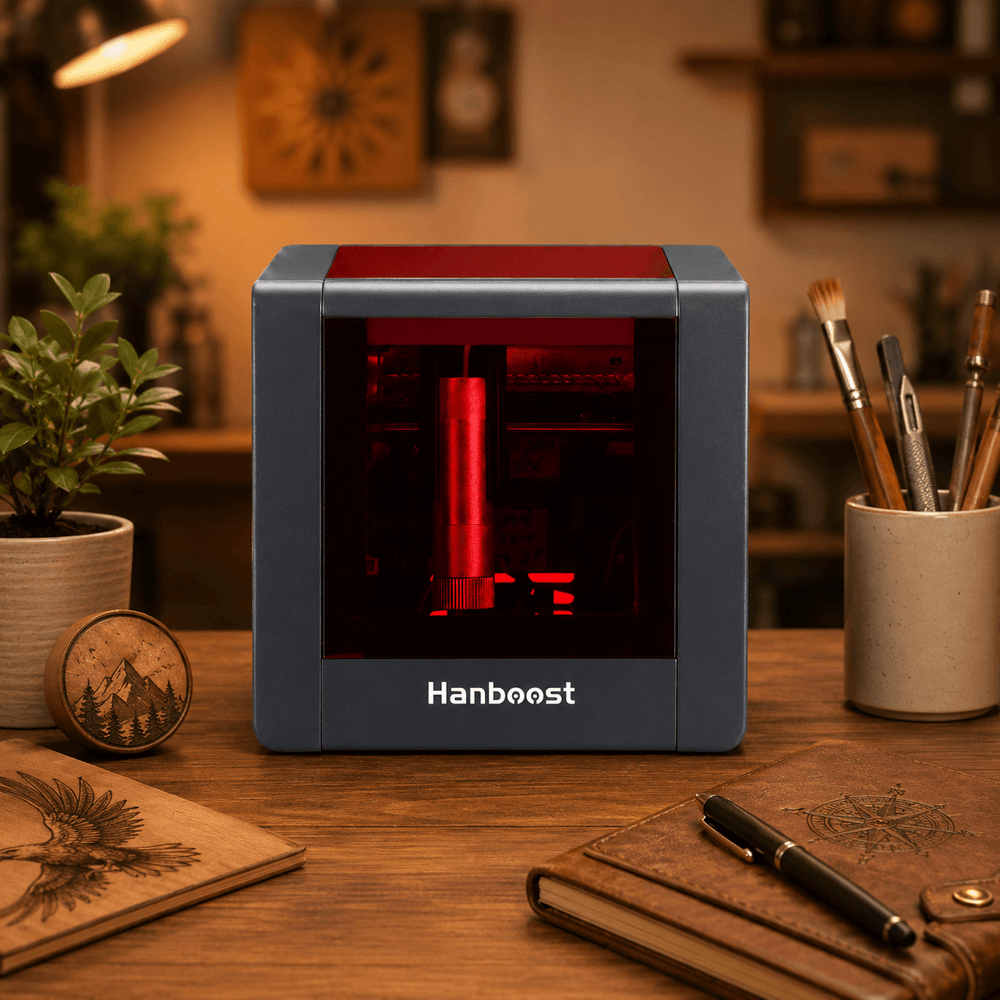
The Hanboost T1 Mini Laser Engraver is intended for smaller projects where a compact working area is enough. Whatever machine you use, check its material guidance before loading a new type of wood.
Test the Piece You Plan to Use
Settings found online are a starting point. They cannot account for the exact board sitting on your workbench.
Two maple boards may have different moisture levels or grain patterns. One sheet of plywood may contain a cleaner core than another. A prefinished surface may need different settings than unfinished wood from the same species.
Use a scrap from the same board or batch when possible. Try a few combinations of power and speed, then compare the darkness, depth, and smoke marks around the design.
Keep notes when you find a setting that works. Record the wood, thickness, speed, power, and number of passes. That information becomes much more useful than a general settings chart because it applies to your own machine and materials.
Inspect and clean the surface before engraving. Sand it evenly if needed, remove the dust, and make sure the board lies flat.
Masking tape can help protect the surface from smoke stains, but it should be tested too. Strong tape may lift fibers from certain veneers or finished surfaces when it is removed.
Avoid pressure treated wood and anything covered with unknown paint, glue, or coating. Never leave the engraver running unattended.
Choosing wood becomes easier once you have worked with a few different materials. Pay attention to the grain, use wood that suits the finished item, and test the actual board before committing to the full design.